How to Improve Your Images: Background Removal, AI Upscaling and Vectorising
When to use background removal, AI upscaling or vectorising, how to get clean results, a practical workflow, and the AI Studio inside your account.
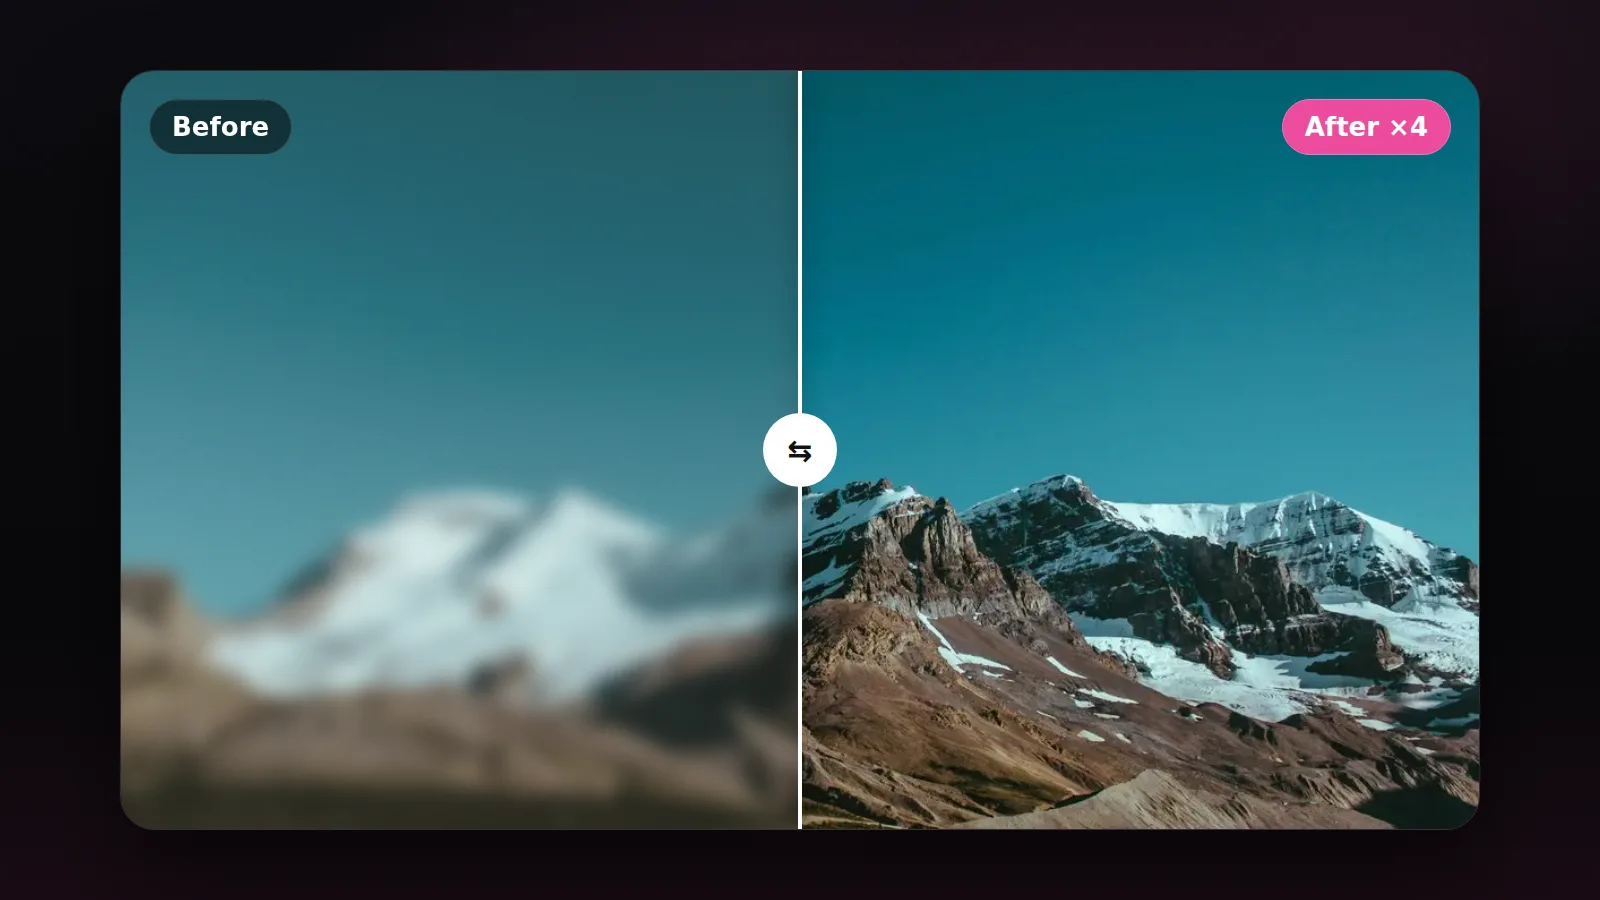
A product photo with a cluttered background, an old logo that is tiny and blurry, or a lovely image whose resolution is too low to print. Shop owners, designers and creators run into these every day. The good news is that three simple AI operations fix most of them: background removal, AI upscaling and vectorising. This article explains when to use each, how to get the best result, and the limits you should know about.
1. Background removal
Background removal separates the main subject (a product, a person, a pet) from everything around it, giving you an image with a transparent background that you can place on any design.
When you need it
- Product photos for online shops, where a white or consistent background looks best.
- YouTube thumbnails, when you want yourself on a bold coloured background.
- Ad designs that combine several elements in one scene.
Getting clean edges
- Contrast matters: the clearer the difference between subject and background in the original, the cleaner the cut-out.
- Check the fine details: hair, fur and sheer fabric are the hardest. Zoom in after processing and inspect the edges.
- Save as PNG: JPG does not support transparency, so your background will come back white.
- Add a soft shadow: a cut-out can look like it is floating. A subtle shadow underneath grounds it.
2. AI upscaling
Traditional resizing just stretches pixels, so the image gets blurry. AI upscaling tries to infer missing detail based on what it has learned from huge numbers of images, so the result looks sharper and cleaner.
When you need it
- An old or small photo you want to use in a large design or print.
- A low-resolution AI-generated image that needs more pixels.
- A screenshot or phone photo that needs a little help before publishing.
What to keep in mind
Upscaling does not recover detail the camera never captured. It invents plausible detail. So:
- Always start from the best version of the image you have.
- Check faces and text after upscaling. Features can shift slightly and letters can warp.
- Do not rely on upscaled images as evidence or documentation, because part of the detail is generated.
- Do not overdo the scale factor. Moderate upscaling usually looks more natural.
3. Vectorising
Regular images (JPG, PNG) are made of pixels, so enlarging them too far reveals blocky squares. Vector images (such as SVG) are made of mathematical lines and shapes, so they scale to any size without losing quality. Vectorising converts the first kind into the second.
When you need it
- An old logo with no original file, which you now need for a banner or a T-shirt.
- Icons and simple illustrations whose colours you want to edit easily.
- Files for laser cutting or printing on merchandise.
Tips for a good vector
- Simple artwork works best: logos, icons and flat illustrations convert beautifully. Photographs turn into huge, unwieldy files.
- Fewer colours: the fewer colours in the original, the cleaner and easier to edit the output.
- Upscale small images first: a tiny blurry logo gives a distorted vector. Upscaling before converting helps a lot.
- Review it in a vector editor: you may need to clean up stray points or merge similar colours by hand.
Common beginner mistakes
- Processing a heavily compressed copy: images saved from chat apps are usually compressed, so find the original first.
- Running the same step twice: upscaling an already upscaled image tends to amplify flaws instead of fixing them.
- Vectorising a photograph: you get a heavy file with thousands of shapes that is useless for print or editing.
- Only checking on a phone: edge artefacts that are invisible on a small screen become obvious in print.
A suggested workflow
Often you will use all three together. To prepare a small product photo for an ad, for example:
- Upscale the image first to get clearer detail.
- Remove the background from the upscaled version for cleaner edges.
- Place the product on a new background in Canva or your design tool of choice, and add a soft shadow.
To prepare an old logo for print: upscale it, vectorise it, then check the colours and edges in a vector editor.
AI Studio in your ZTOOLZ account
If your subscription includes it, you will find ZTOOLZ AI (the AI Studio) in the sidebar of your ZTOOLZ account, with tools for background removal, AI upscaling and vectorising. Upload your image, choose the operation and download the result directly, without opening anything else. You can also browse the store to see which other design and image tools are currently available.
Only process images you own or have the right to use. Removing a background or upscaling an image does not change who owns it, and stripping watermarks from other people's images violates their rights.
Always keep the original image before processing. If you do not like the result, you can start again with different settings.
The short version
Background removal to isolate a subject, AI upscaling to improve resolution, and vectors for logos and artwork that need to scale without limits. Understand when each one fits and where its limits are, and you will save hours of manual work on every project.