Krea AI: Real-Time Generation, Enhancer and Video
Krea AI explained for designers: real-time generation, the image enhancer and upscaler, video tools and a workflow that turns rough ideas into polished visuals.
Krea AI is a creative platform that brings image generation, real-time drawing, enhancement and video into one place. Its signature feature is real-time generation: you sketch or move shapes and the picture updates as you work. This Krea AI guide explains the main tools, how designers can use them in a daily workflow and where it fits next to other generators.
What is Krea AI?
Krea is built for exploration. Instead of writing a prompt, waiting, and then judging the result, you can often see changes as you type or draw. That makes it feel closer to sketching than to ordering an image. It is popular with designers, art directors, game artists and marketers who iterate on ideas quickly.
The platform has grown to include several tools: image generation with multiple models, a real-time canvas, an enhancer that upscales and adds detail, tools for style training, and video generation and editing. Exact features and model options change as the platform updates, so check the tool inside your account for the latest list.
Real-time generation: how to use it
The real-time canvas lets you place simple shapes, scribble a layout or import a reference while a prompt describes the style. The system responds almost immediately.
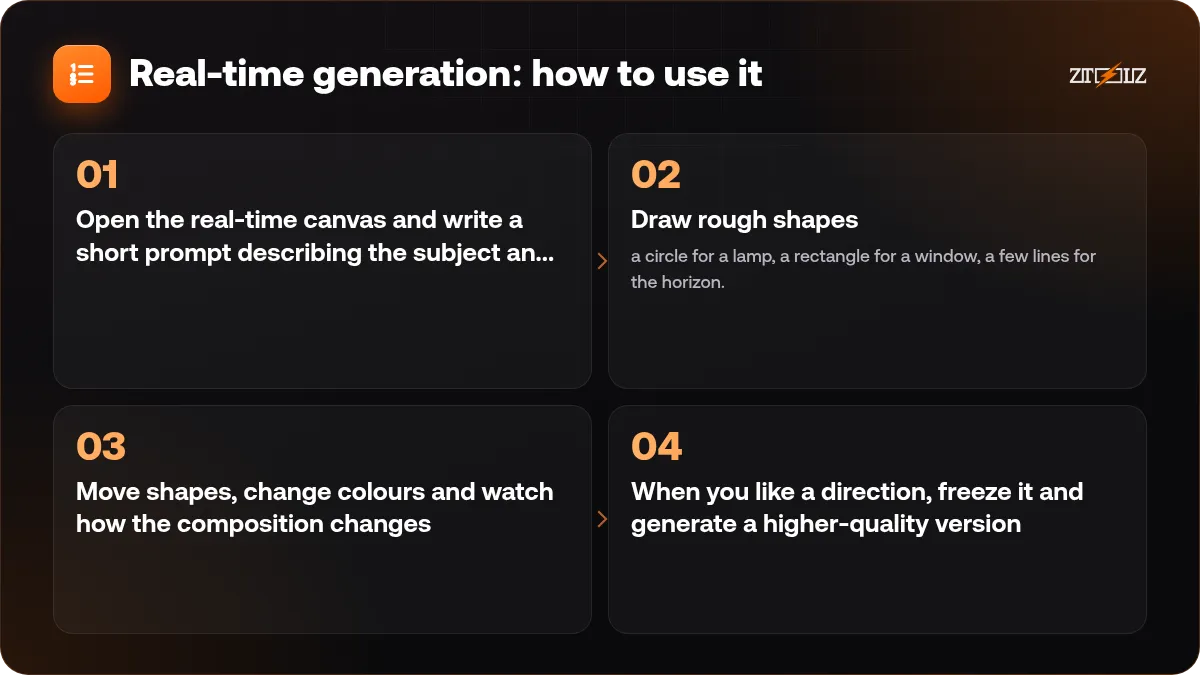
- Open the real-time canvas and write a short prompt describing the subject and style.
- Draw rough shapes: a circle for a lamp, a rectangle for a window, a few lines for the horizon.
- Move shapes, change colours and watch how the composition changes.
- When you like a direction, freeze it and generate a higher-quality version.
This is perfect for early concept stages: packaging ideas, interior layouts, characters, logo shapes and scene compositions. You find the direction first, then spend time on quality.
Use real-time for composition and mood, not for final details. Once the layout feels right, switch to a normal generation for the finished image.
The enhancer and upscaler
Krea's enhancer takes an existing image and makes it larger and more detailed. You can control how faithful it stays to the original and how much new detail it invents. This is useful for:
- Upgrading low-resolution AI images for print or large banners.
- Adding fine detail to textures, skin, fabric and landscapes.
- Refreshing old product photos.
The balance matters. If you raise the creative detail too much, the result can drift away from your original, especially on faces and logos. Start with a gentle setting, compare with the original and increase gradually. For a deeper look at high-end upscaling, read Magnific AI upscaler guide, and try Magnific when you want that style of detail enhancement. For basic clean-ups such as background removal, see improve image quality, remove background, upscale, vectorize.
Video tools in Krea
Krea also lets you turn images into short video clips and apply motion or style to existing footage, using various video models available on the platform. Typical uses are animated product reveals, moving backgrounds, social media loops and concept animatics.
- Start from a strong still image. Clean, simple compositions animate best.
- Describe the motion in the prompt: "slow camera push-in", "gentle wind in the hair".
- Keep clips short, then edit them together in a video editor.
- Expect some artefacts and generate several versions.
If you assemble clips into a final video, see Runway AI video generation guide for comparison and video tools for beginners for editing.
A designer's workflow with Krea
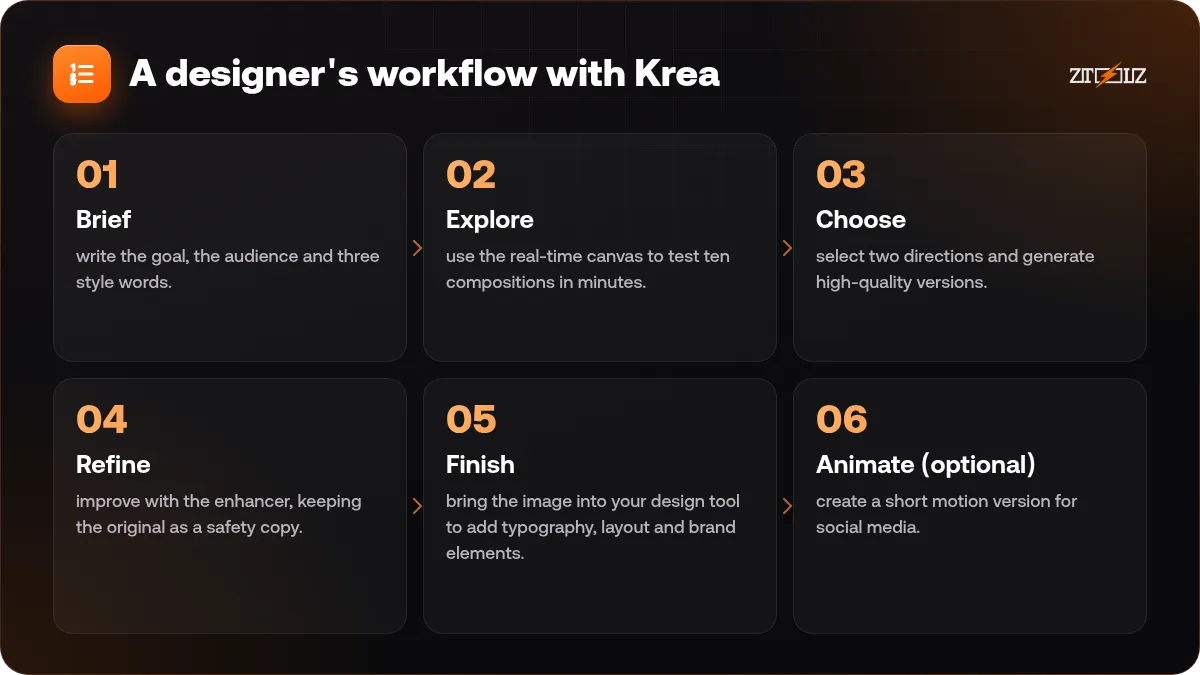
- Brief: write the goal, the audience and three style words.
- Explore: use the real-time canvas to test ten compositions in minutes.
- Choose: select two directions and generate high-quality versions.
- Refine: improve with the enhancer, keeping the original as a safety copy.
- Finish: bring the image into your design tool to add typography, layout and brand elements.
- Animate (optional): create a short motion version for social media.
This keeps AI in the role of sketching and detailing, while you stay in control of the brand decisions and the final layout. For design foundations that make your finished pieces look better, see colour and typography basics for designers.
Krea compared with other tools
- Compared with Midjourney: Krea is strong on interactivity and enhancement; Midjourney is known for artistic default results.
- Compared with Leonardo: Leonardo has a broader editing canvas and character features; Krea shines in live iteration and upscaling. See Midjourney vs Leonardo vs Ideogram.
- Compared with dedicated upscalers: a specialised upscaler may give more control for a final enhancement step.
There is no single best tool. Many professionals pick one generator for exploration, one for editing and one for upscaling.
Prompt tips that work in Krea
- Keep prompts short during real-time work, because each word changes the picture immediately.
- Use concrete visual words: material, light, camera angle, colour palette.
- Keep a reference image for style consistency across a series.
- Save your favourite settings, and note which models worked for which looks.
- Check the usage rules before using generated images in commercial projects.
Where Krea fits in a small business
A small brand can use Krea to explore packaging colours before ordering samples, to build moodboards for a new product line, or to make a set of consistent background scenes for product photos. A freelancer can show a client five directions in one meeting instead of one finished design, which makes feedback faster and cheaper for both sides. In every case, keep human review in the loop: check that the result fits the brand, contains no accidental logos and respects the licence terms.
Common mistakes
- Expecting the first output to be final. Treat it as a sketch.
- Over-enhancing until faces and text look unnatural.
- Ignoring file size and colour mode when exporting for print.
- Uploading client photos or private material to a shared account.
Krea AI on ZTOOLZ: we offer shared access to Krea AI through accounts owned by the platform, opened in the browser with the ZTOOLZ extension or the cloud version. Because the account is shared, download your results straight away and avoid uploading private files. See the Krea AI tool page for our current price, or add it to a custom plan with the "+" button in the store, for example together with Magnific for upscaling. The payment methods available in your country appear at checkout.
FAQ
What is Krea AI used for?
It is used for image generation, real-time concept sketching, upscaling and enhancing images, and creating short videos. Designers use it mostly for exploration and refinement.
What is real-time generation?
It means the image updates as you draw or type, so you can adjust composition and style instantly instead of waiting for each result.
Is Krea better than Magnific for upscaling?
They overlap. Krea offers an enhancer inside a broader creative platform, while Magnific is specialised in detail-rich upscaling. Test both on one image and compare faces, text and textures.
Can Krea create videos?
Yes, it offers video generation and editing tools. Start from a strong image, describe the motion simply and generate several versions.
Can I use Krea outputs commercially?
That depends on the platform's terms and your plan. Read the current terms before using results in client or commercial work.